
Suggestions for the installation of the AP8A Vertical Antenna
The AP8A Cushcraft installation manual has limited information about the types and methods of installations for this quarter wave vertical antenna. A vertical quarter wave antenna must have radials to complete the other half of the antenna. There are basically two mounting options, (1) ground mounting the antenna and (2) mounting the antenna in an elevated (a) pole/post mount or (b) a roof mount position. The general rule for ground mounting is that the more radials the better and they should be long enough to be a quarter wave length of the lowest frequency of operation. The data often says, referring to ground mounted antennas, if 16 radials are good then 32 will be better. When the antenna is elevated, i.e. ten feet or more, fewer radials are required, usually two, three or four per band. The ideal angle of slope of the radials is 42 degrees down from the horizontal. This angle will produce a 50 ohm match at the antenna feed point. From experience I have found that sets of radials are required on 10, 15, and 20 meters with a forth set of radials of 31 feet which will work for 30, 40 and 80 meters. For some reason unknown to me, 12 Meters will tune fine without a radial but 17 will require two or more radials. Some tuning of the radials may be required. Initially cutting them to the length indicated in the chart in the manual will be close to the correct length. The use of an Antenna Analyzer will certainly speed up the process and will help to put the lowest SWR in your chosen portion of each band. Twelve gage wire will work fine for the radials. Guys should be used to support the antenna and should be attached near or above the mid point of the antenna. For a vertical antenna this installation is quite successful. This was my first vertical antenna after working DXCC on a tri-band antenna at 35 feet with a kilowatt at a previous location. A good receiver putting out a 100 watts to this antenna has resulted in considerable DX opportunities. More power will help.
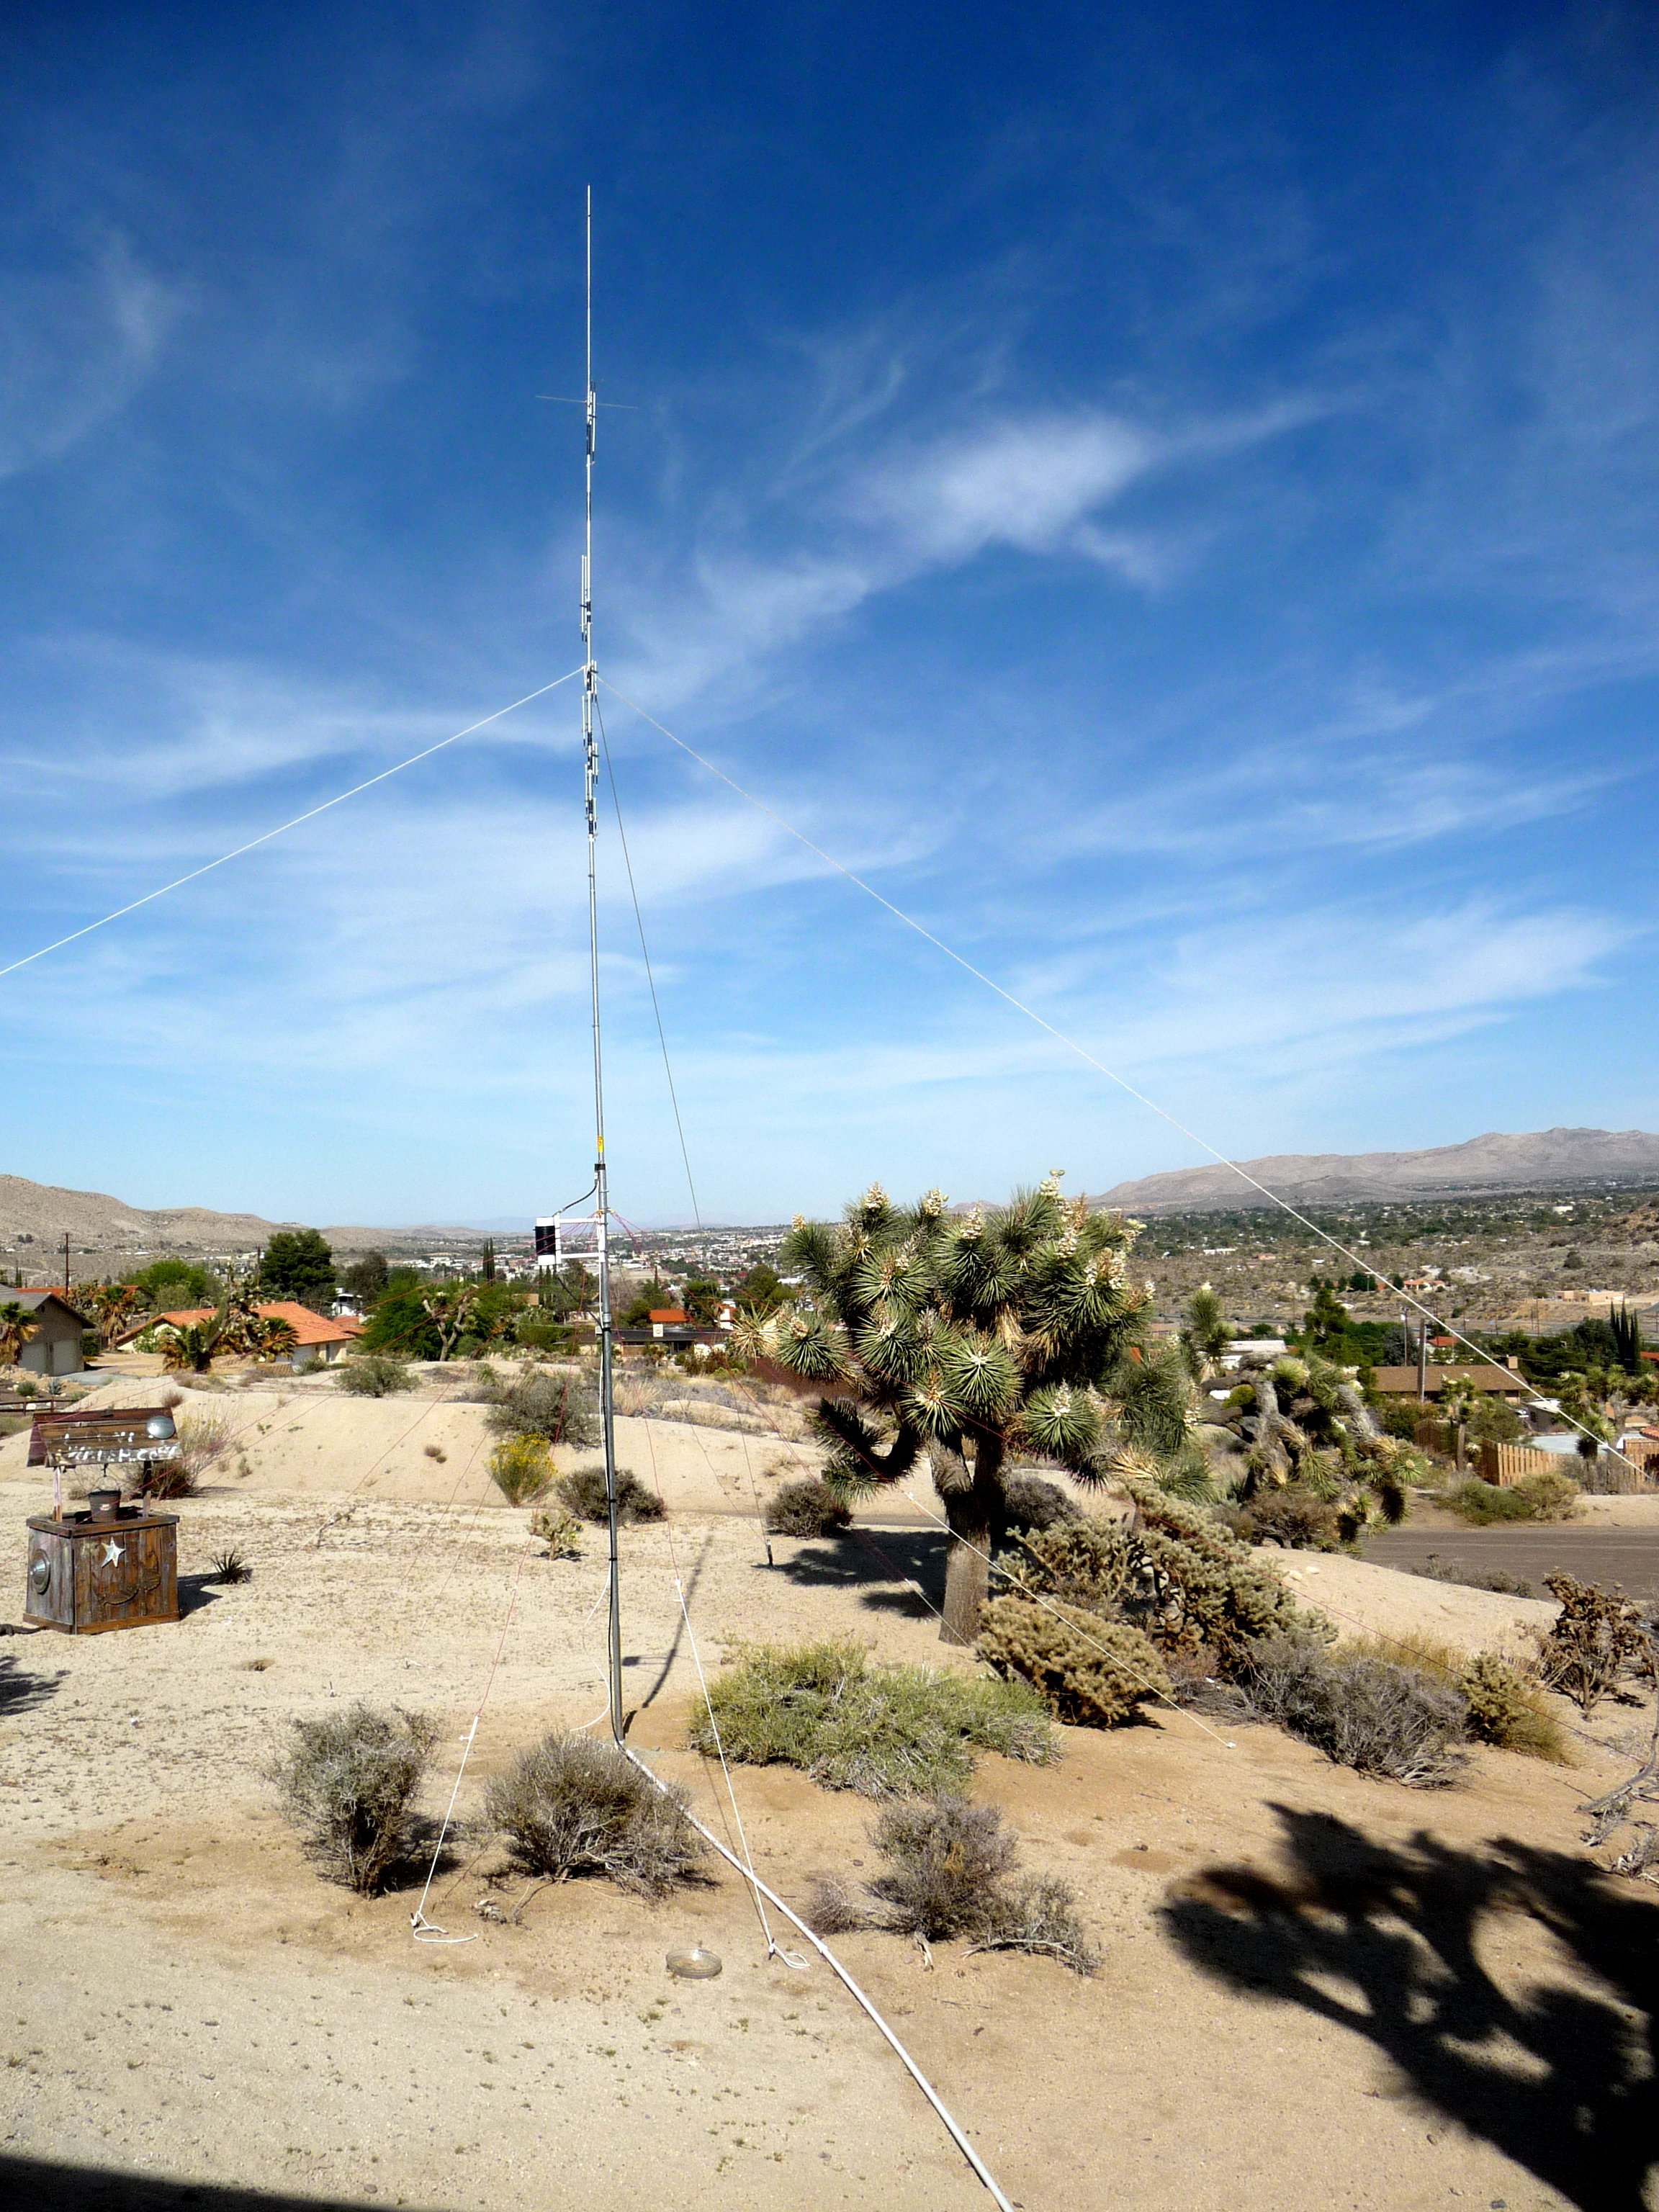
View out the window of the station
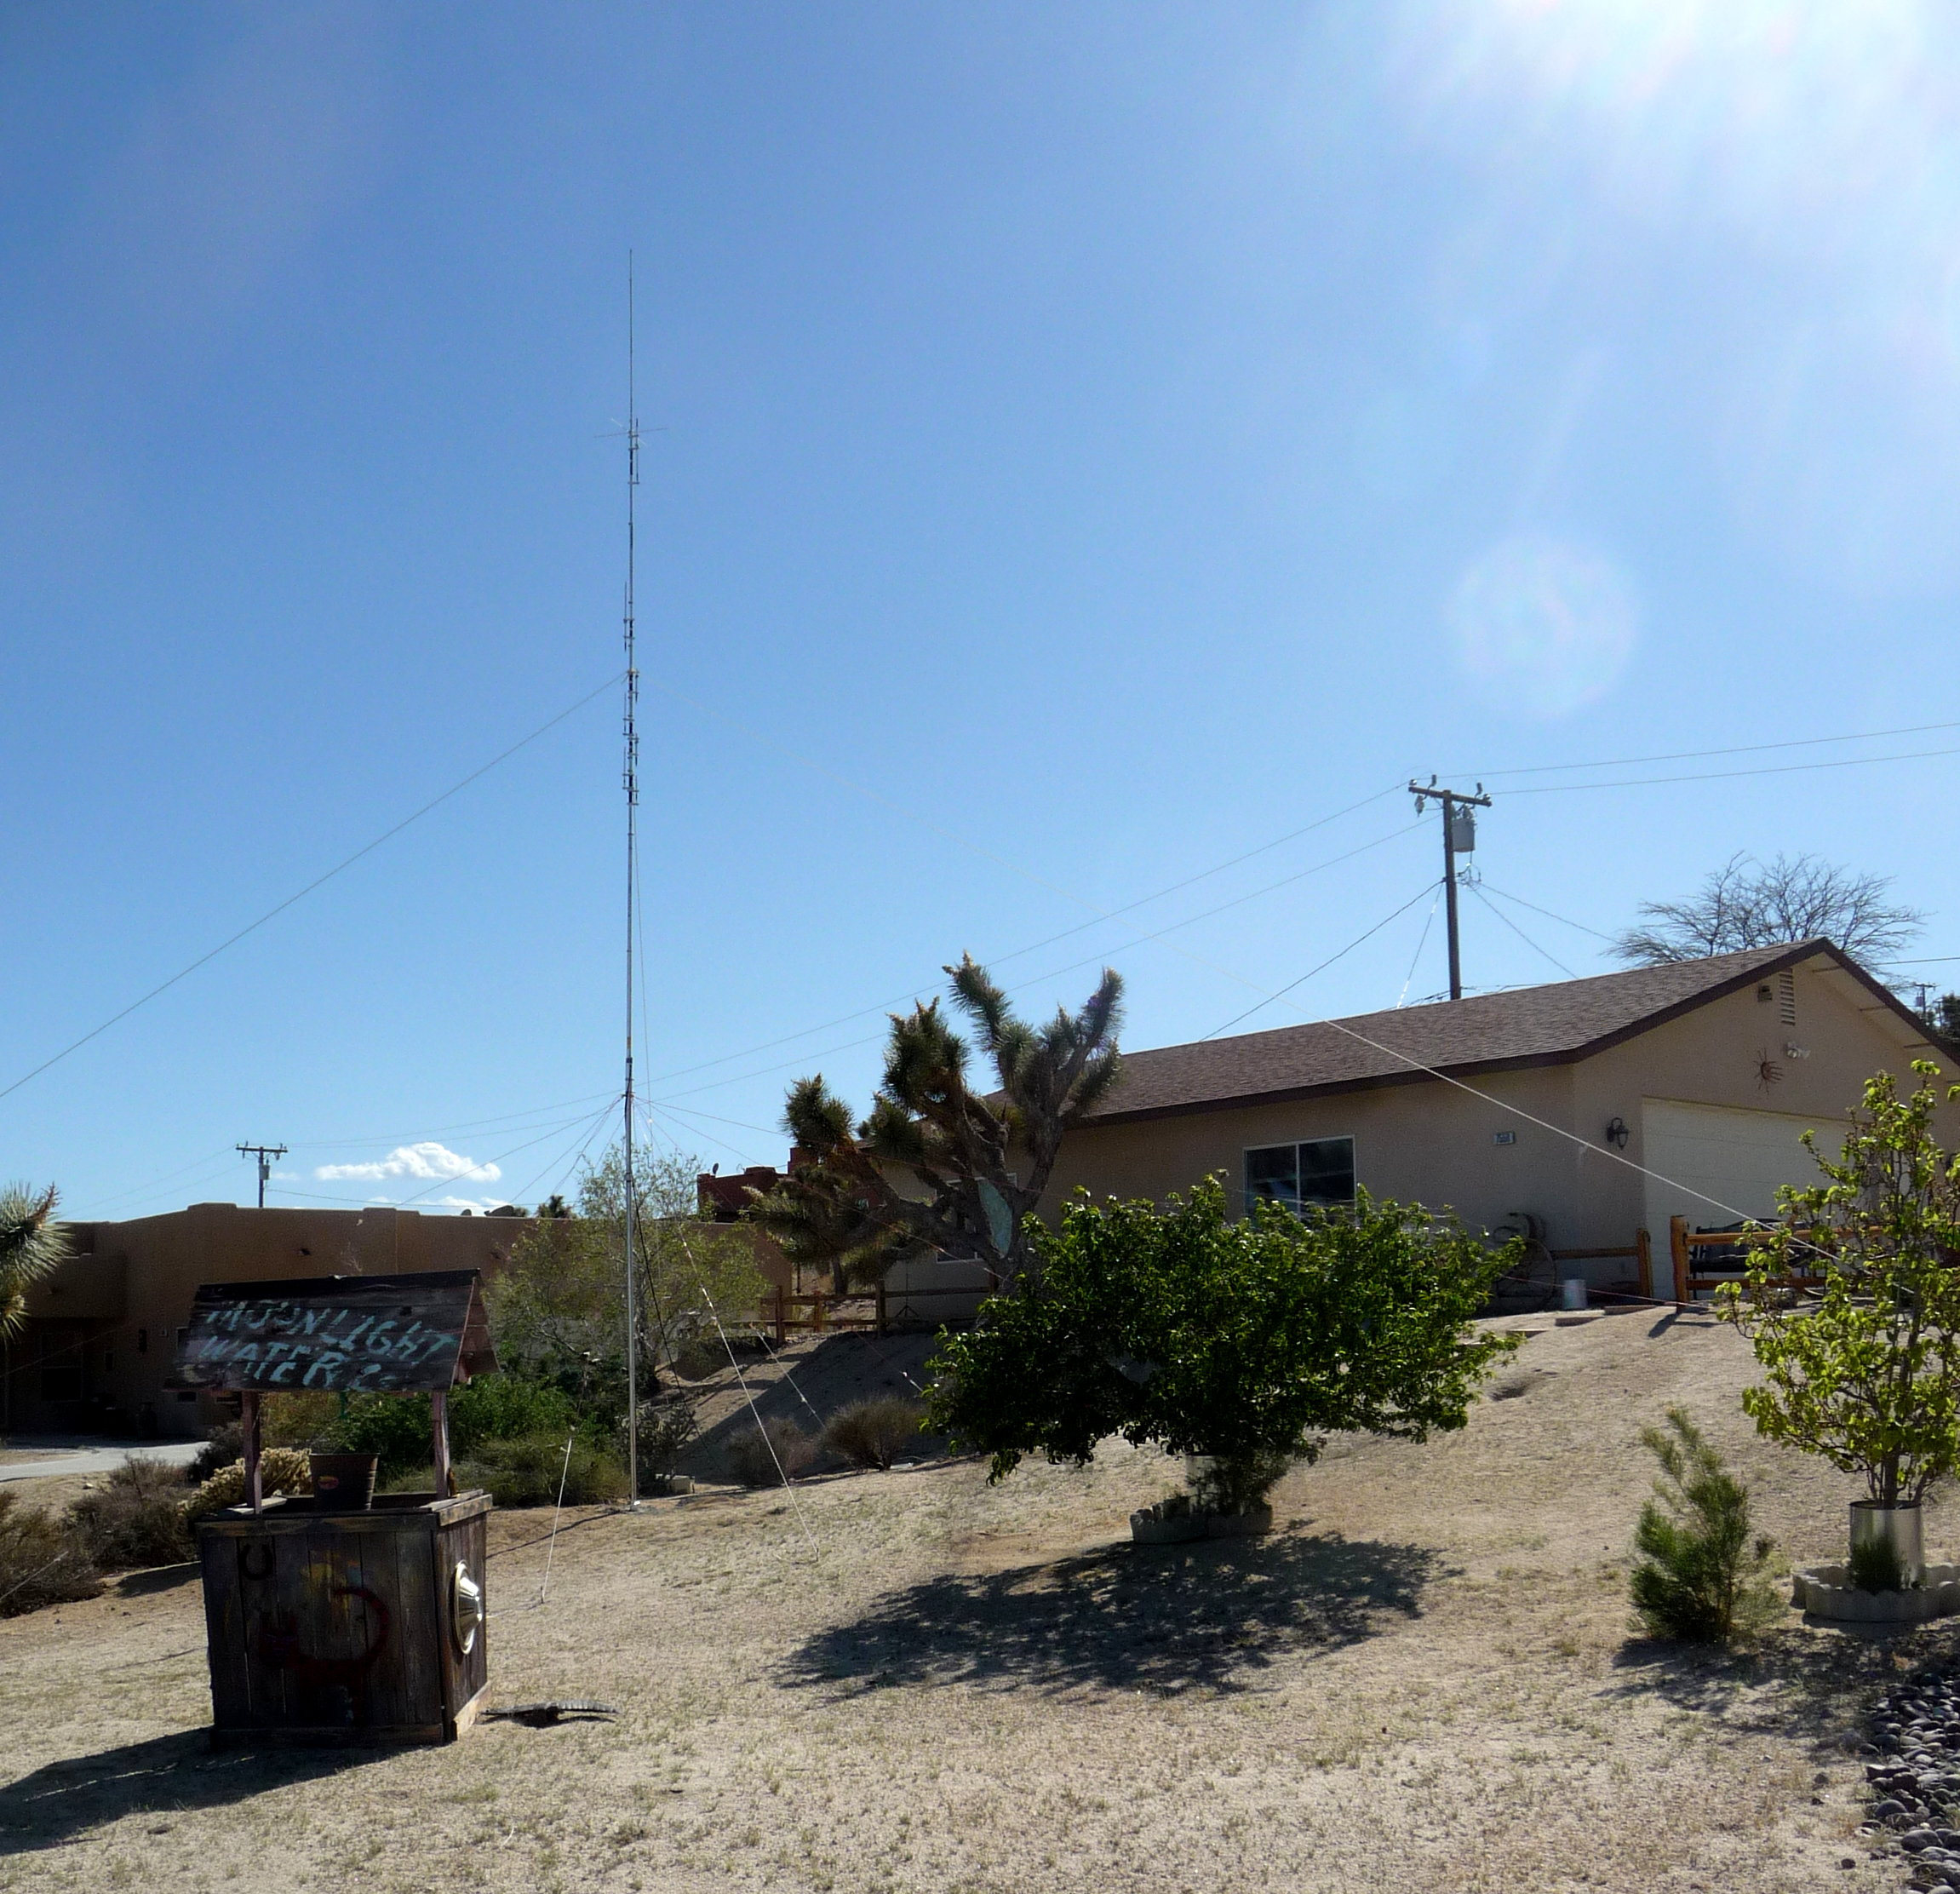
Thirty Four feet tall, with sloping radials, operating at an elevation of 3600 feet.

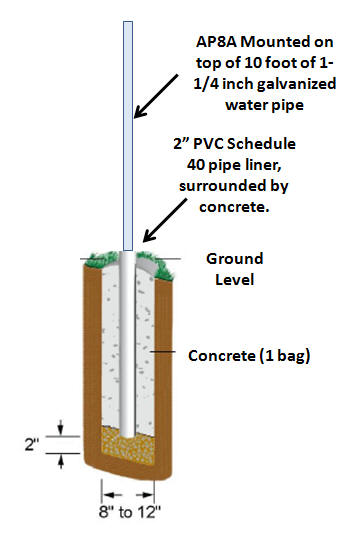
Suggestion for an elevated antenna mount: An elevated mount can be supported by an inexpensive foundation design that can be completed in an hour or so. (See illustration below) This allows the mast to be erected by sliding it into the PVC liner in a concrete footing. It is an easy mount that allows for stable support and quick removal to lay the antenna down for retuning or during a severe storm. It is intended that the antenna assembly be supported by guys attached to the antenna. A ground mounted antenna installation can be connected to a radial connection plate to support the many radial wires required. I chose an elevated mount to eliminate the ground radial system. I chose the AmpKeyer (See below) as an interface between my Heathkit Amplifier and a later model TS-870 Kenwood Transceiver. It is a keying interface that makes the required isolation of latter model Transcivers. The Ampkeyer works well with the Heathkit SB-201 and SB-220 Amplifier as well as most all other amplifiers.
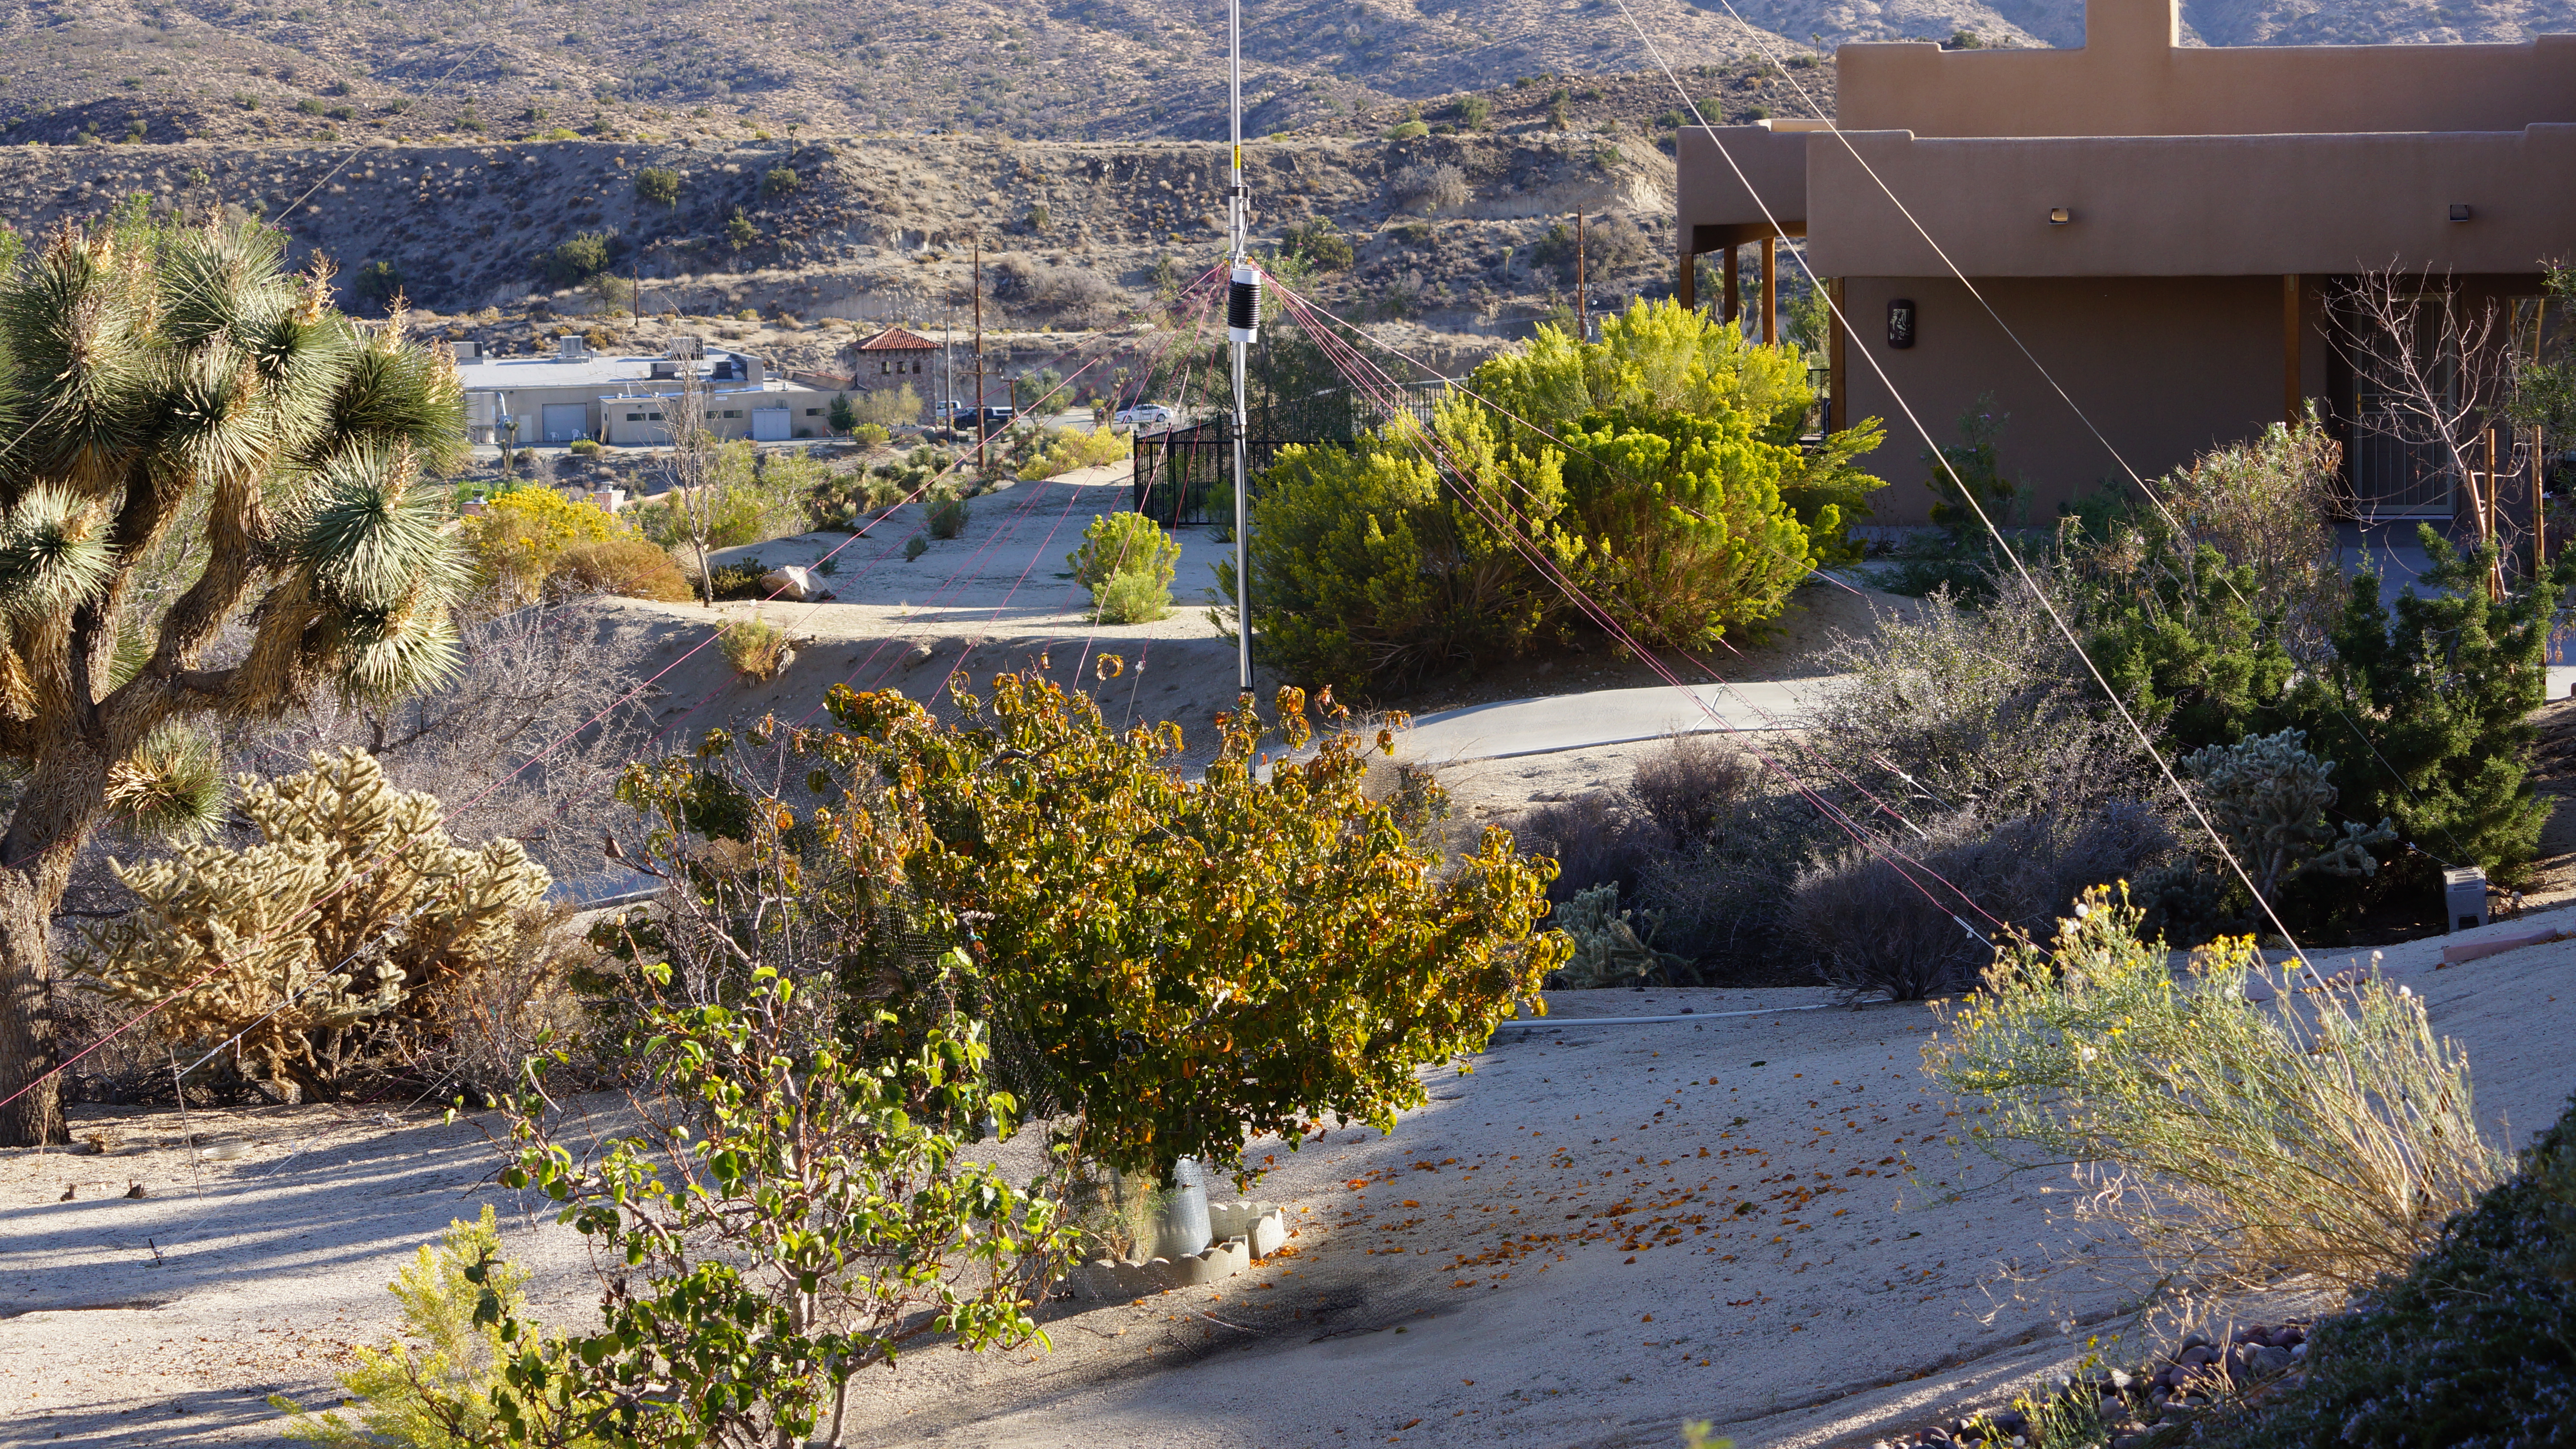
Thirty Four feet tall, with sloping radials, operating at an elevation of 3600 feet. (Click on Thumbnail photos)
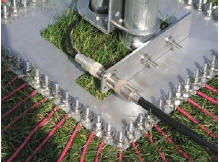
Suggestion for an elevated antenna mount: An elevated mount can be supported by an inexpensive foundation design that can be completed in an hour or so. (See illustration above left) This allows the mast to be erected by sliding it into the PVC liner in a concrete footing. It is an easy mount that allows for stable support and quick removal to lay the antenna down for retuning or during a severe storm. It is intended that the antenna assembly be supported by guys attached to the antenna. I chose an elevated mount to eliminate the ground radial system. Three radials on 10, 12, 15, 20 and 80 were sufficient to produce a low SWR on all bands. (See above right) A ground mounted antenna installation can be connected to a radial connection plate to support the many radial wires required. (see above center picture)